Step 1: Remove the label
I soaked the canister in hot water and baking soda to remove the sticker label. The paper peeled off easily, but I was left with a layer of tacky residue. Spraying the tin with WD-40 to loosen the adhesive and then washing it off with lots of dish soap and hot water.
Step two: Aging the metal
After some research, it appears that the tea canister metal is covered in a protective coating. Any antiquing chemicals would have to eat through the coating and would be dangerous and corrosive. A message board thread suggested heating the metal over a candle. A better option as it would not eat away at the metal seams or contaminate the inside of the container. I tried the lid first, and heating the metal several times - that was a bit of a flop. The lid turned completely black, when I was going for a more uneven, lightly used look. Not "burnt to a crisp." Lesson learned. For the cannister body I did one complete turn, holding each spot in the candle flame for a few seconds. I then wiped the soot away with a soft cloth. A paper towel left bright scratches as it cut through the patina. For a final touch, I rubbed the metal with a thin coat of mineral oil.
 |
| Aging the tea canister |
Step 3: Antiquing the decoupage images
I got all of my images from the Graphics Fairy, a fantastic vintage image database of out of copyright images. I simply searched "tea", saved and printed the images in colour.
I recently purchased a wood burning tool that has a variable heat setting. It turns out its the perfect tool for paper burning. On select images I burned the edges away to create more organic shapes. I found my starter tips here.
Step 4: Decoupage
Grab your Mod Podge and get busy! I applied a decent layer of Mod Podge to the backs of the images and attached them to the canister, smoothing the pictures out from the centre to avoid air bubbles. I let everything dry for an hour.
 |
| Glazing white printed pictures |
The white printer paper looked far too new and clashed with the other images. I decided to not tea dye the images before doing the collage, as it would cause the paper to warp. It would be impossible to work with. I applied two coats of clear acrylic gel medium mixed with beige liquid acrylic paint. It aged the selected images nicely and was still transparent.
Once dry, I coated everything with a protective layer of Mod Podge, to seal and provide a degree of water resistance.
Step 4: Decorate and seal
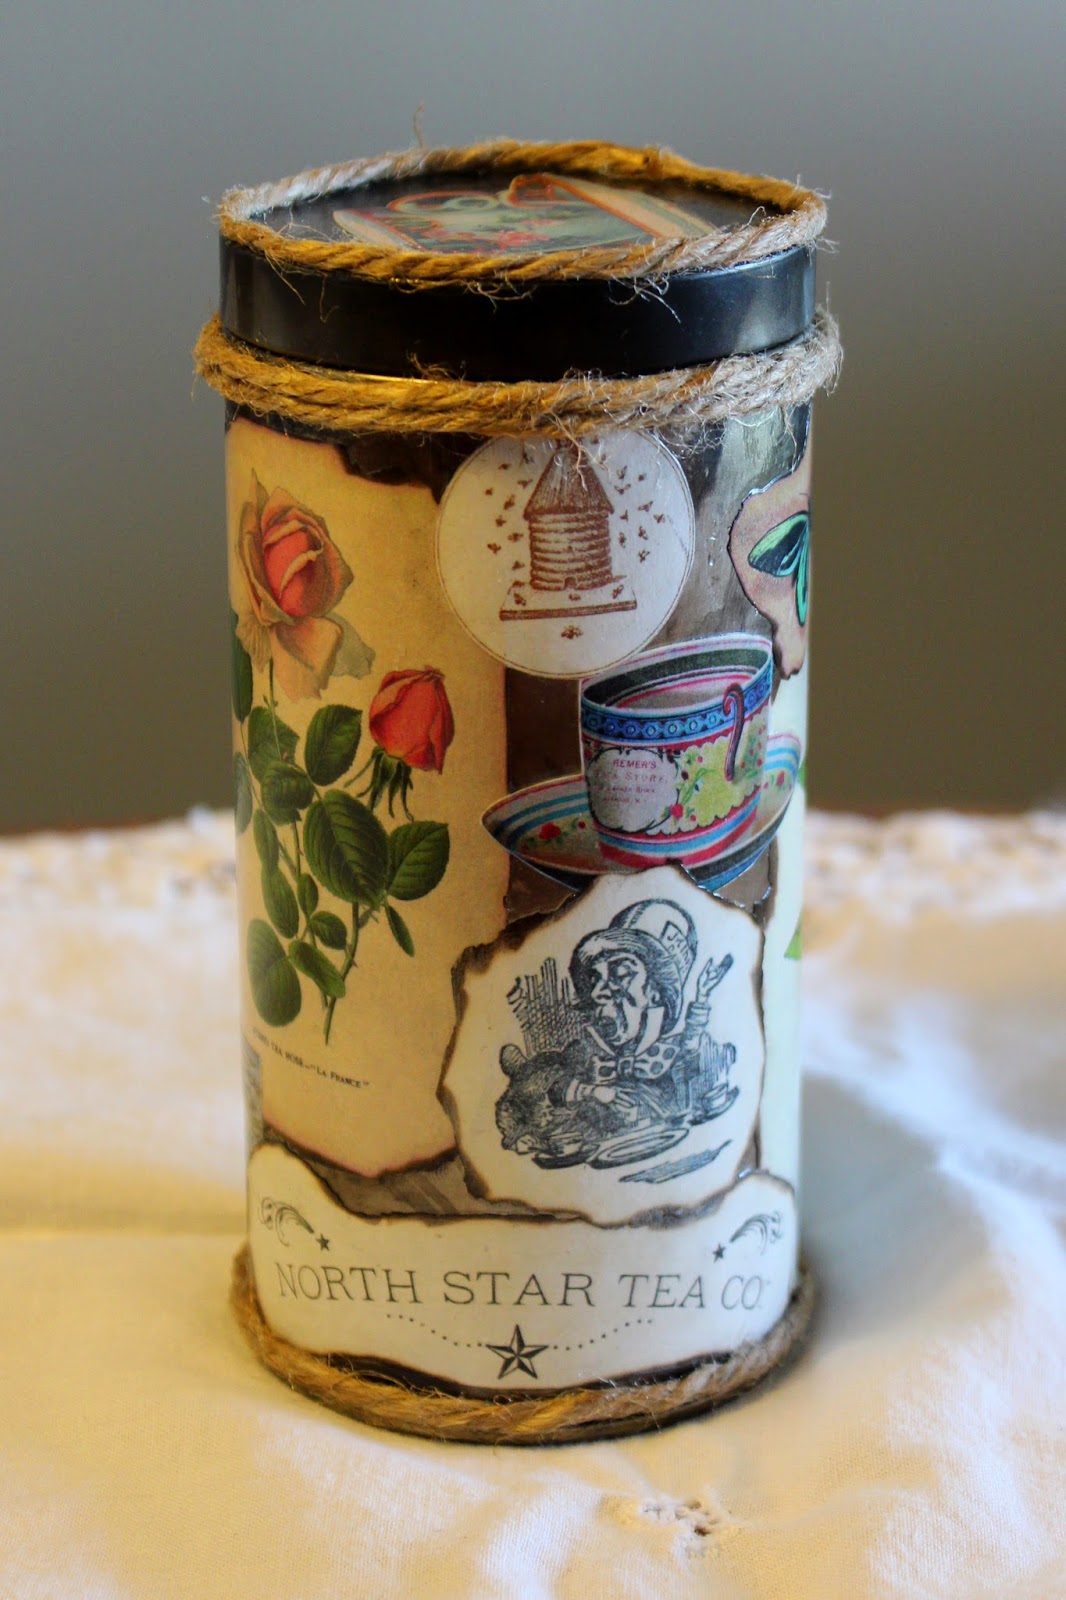
For embellishment, I glued some natural jute twine to the tea canister rim with more Mod Podge. And to remove the tackiness from the Mod Podge, I sprayed the entire outside of the metal tin with acrylic sealant. Voila!
 |
| Finished tea canister |
 |
| Finished tea canister |
 |
| Finished tea canister |


No comments:
Post a Comment